Tuesday, April 28, 2020

Monoprint Note Cards Using Gelli Arts Printing Plate and Grafix Art Plastics

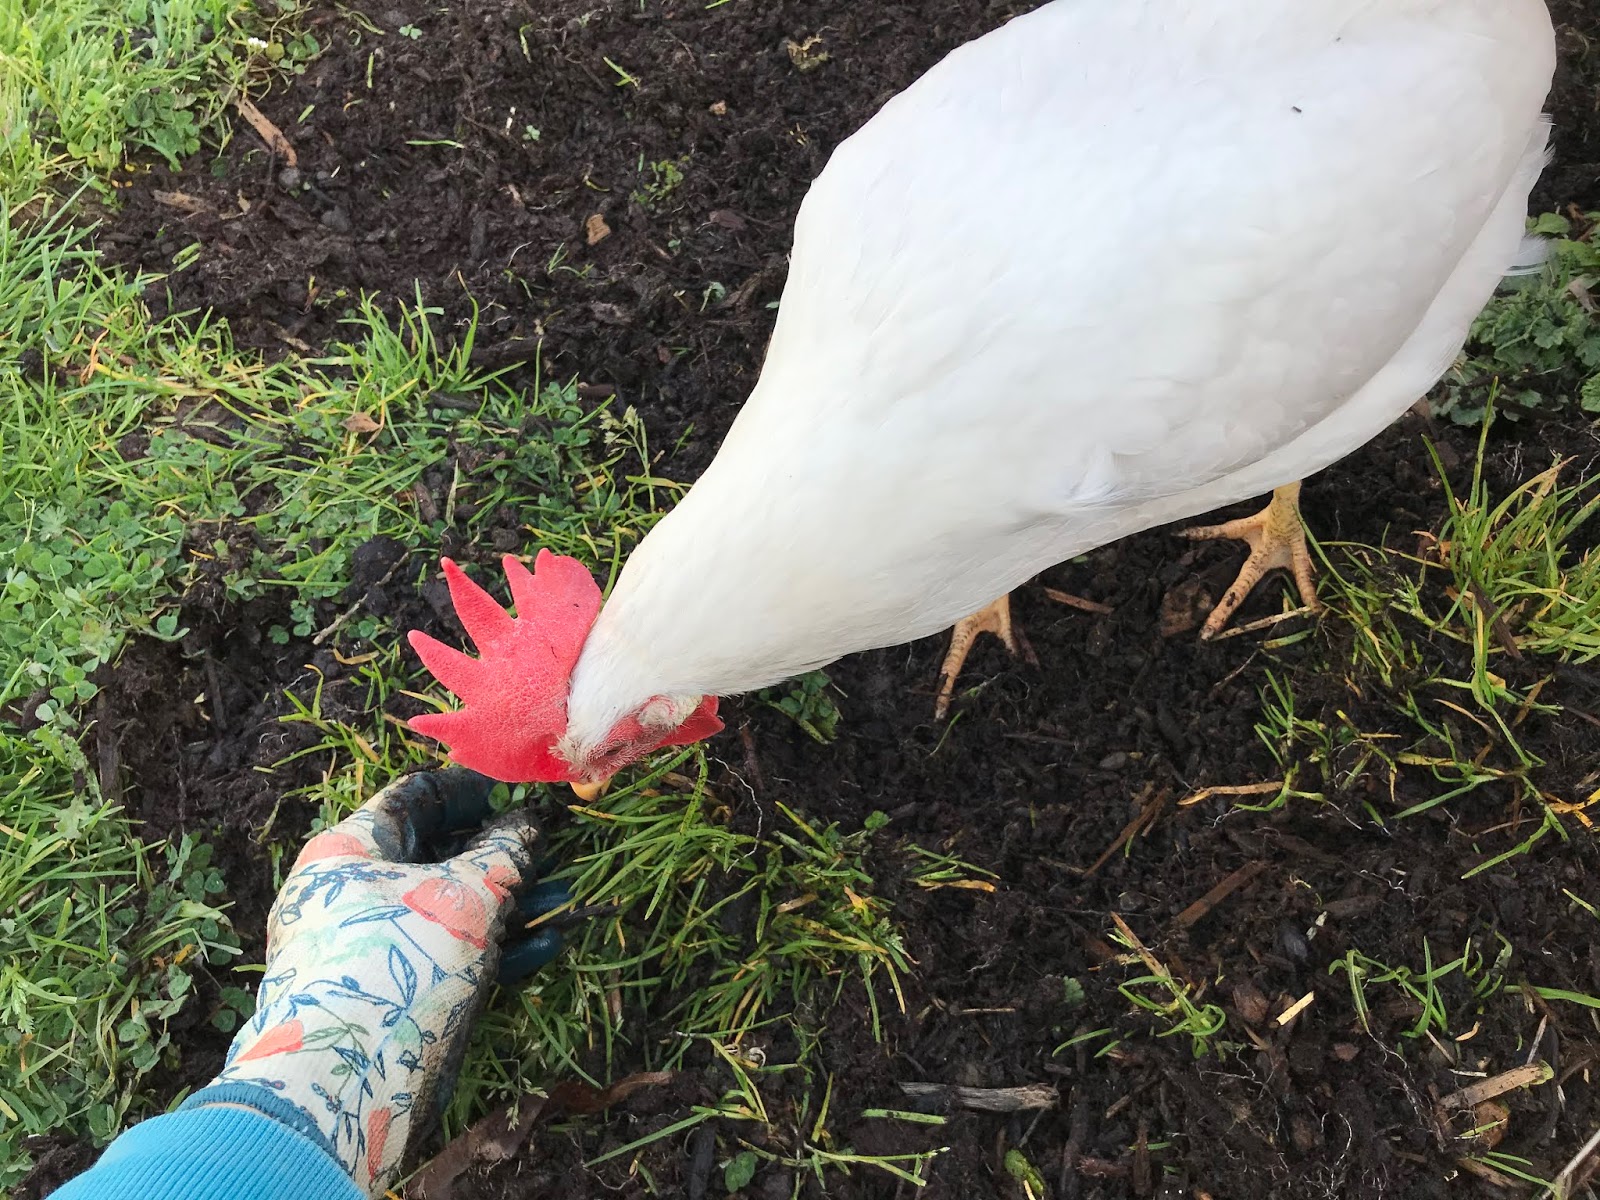
It's springtime in Oregon and that means a lot of us are spending every sunny day outside weeding and preparing our gardens for summer fruits and veggies.  When I'm working with my hands in the dirt, my feathered friend, Lisa is scratching right beside me.  She's a clever one.  She knows that when we work together, she'll get the biggest, fattest grubs that can be found in the yard.  Can you tell I love my chickens?  Naturally our girls have inspired this theme and when I'm done I'll have a fun set of handmade cards to mail to family and friends we're missing right now.

Materials used:

Gelli Arts Gel Printing Plate
Gelli Arts Mini Printing Tools
Grafix Dura-Lar .004 Wet Media Film (for masks)
Grafix Super Sanded Shrink Film
Grafix Artist-Tac Permanent Dry Adhesive
Canson XL Mixed Media Paper
StazOn Ink
Rubber Stamps
Acrylic Paint
Brayer
Handmade Foam Stamps
Kraft Card Stock for Card Bases
White Card Stock for Card Fronts
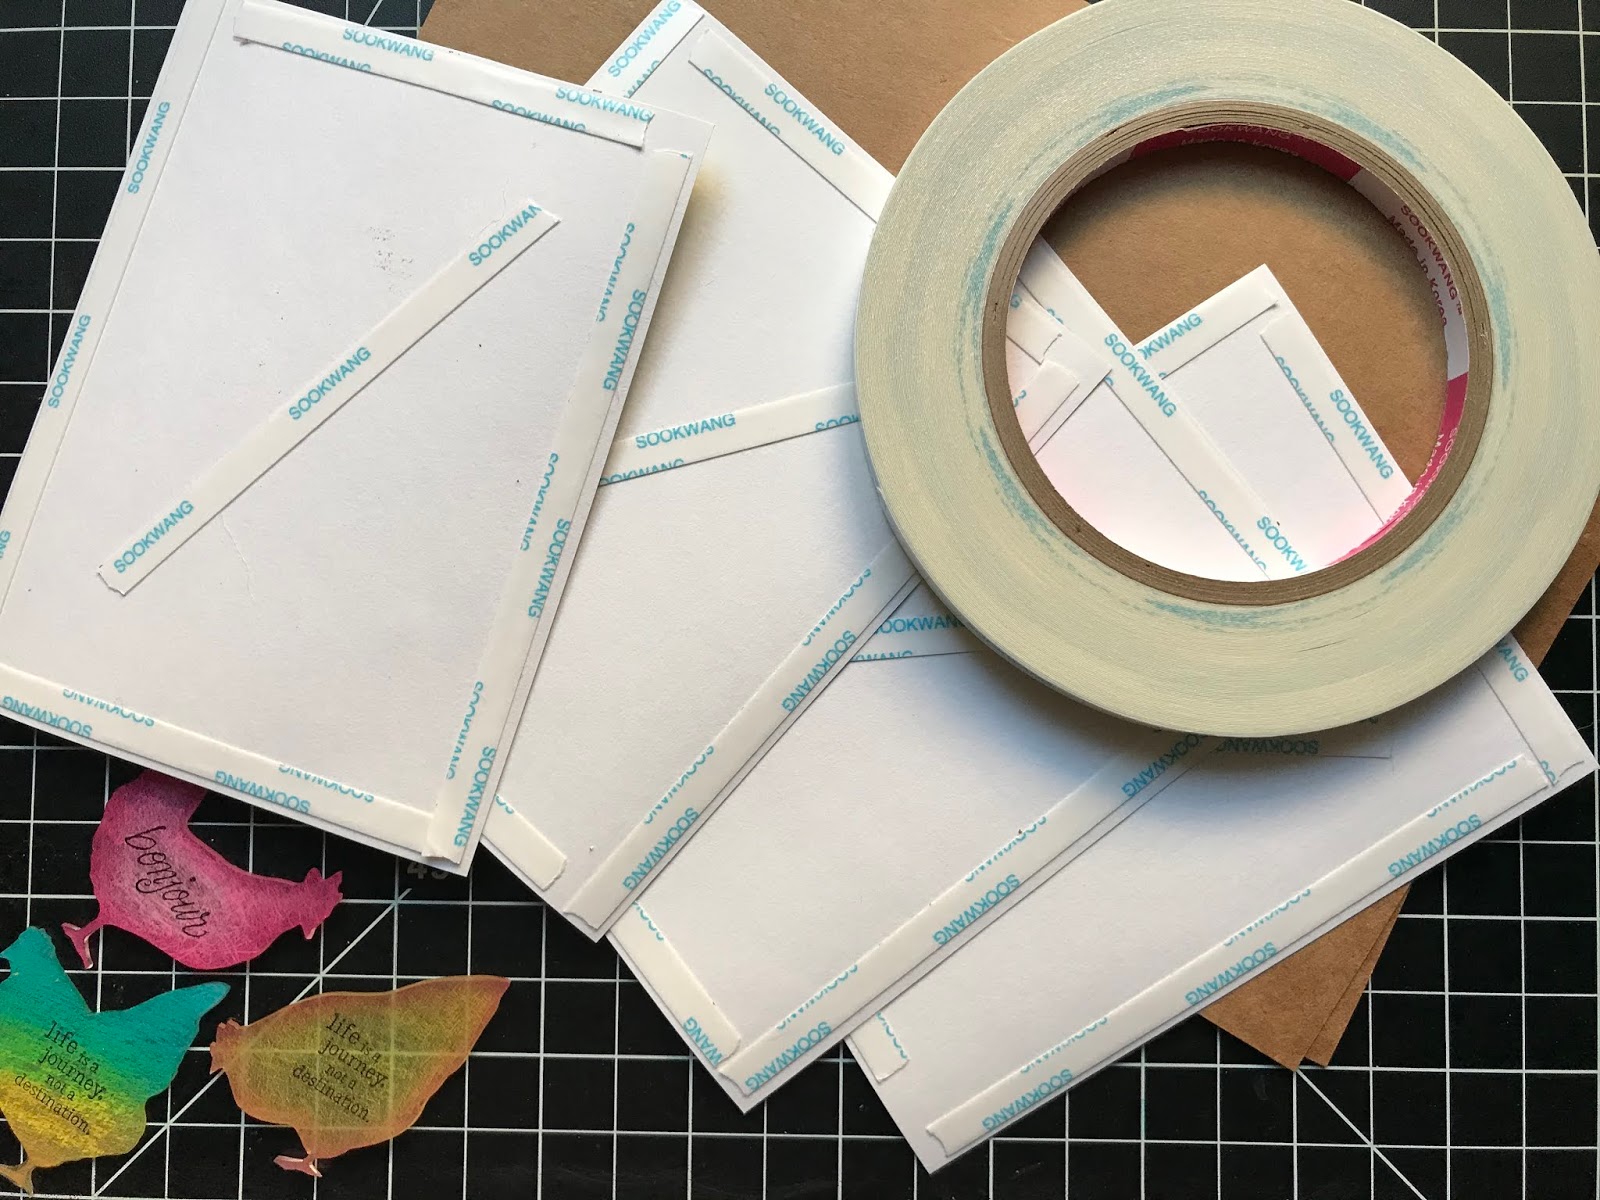
1/4" Scor-Tape Adhesive
Colored Pencils
Embroidery Floss
Scraps of Burlap
Scissors
Paper Trimmer

A couple of weeks ago I discovered that I liked the ease of cutting Grafix Dura-Lar Wet Media Film for a stencil I had created.  The film cuts really well with both scissors and a hobby blade.  The durability of the film was appealing to me so I created my chicken masks from it as well by tracing sketches I had made of our girls.  After I had used them, I realized that the masks could also be used later as an image attached to a card or collage.  For now, I'll keep it in my stencils and masking supplies for printing.
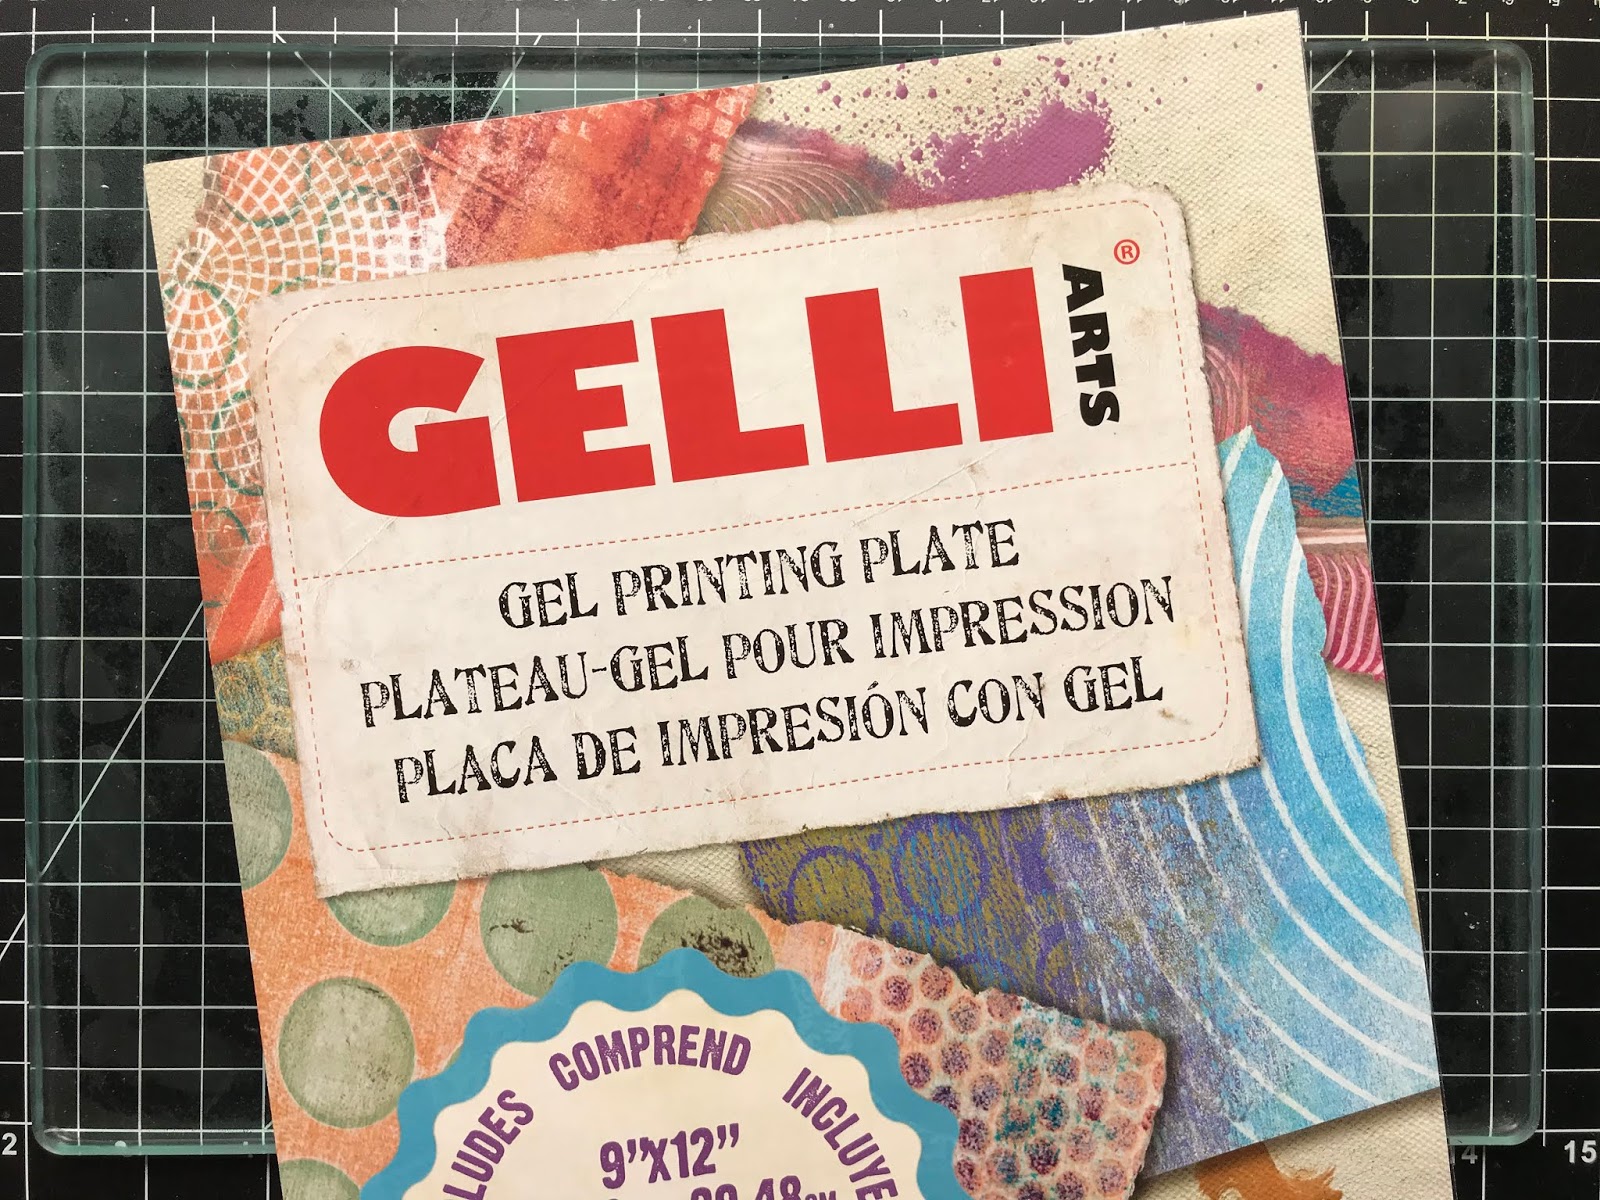
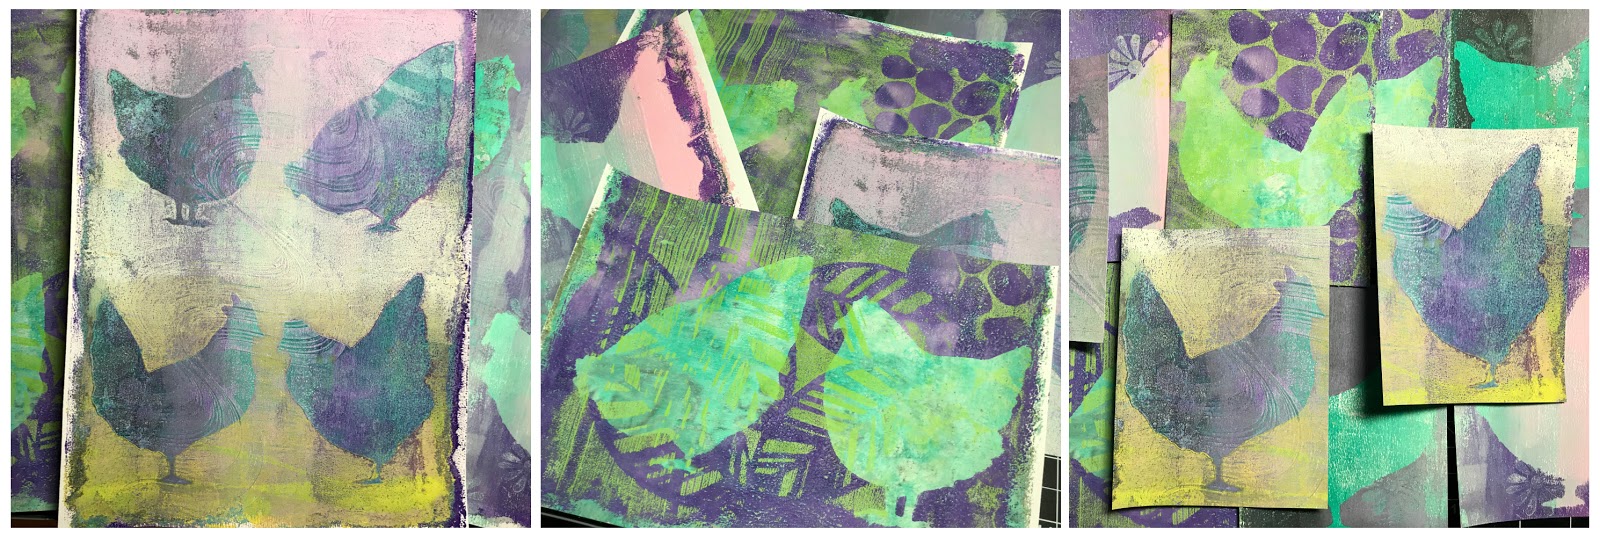
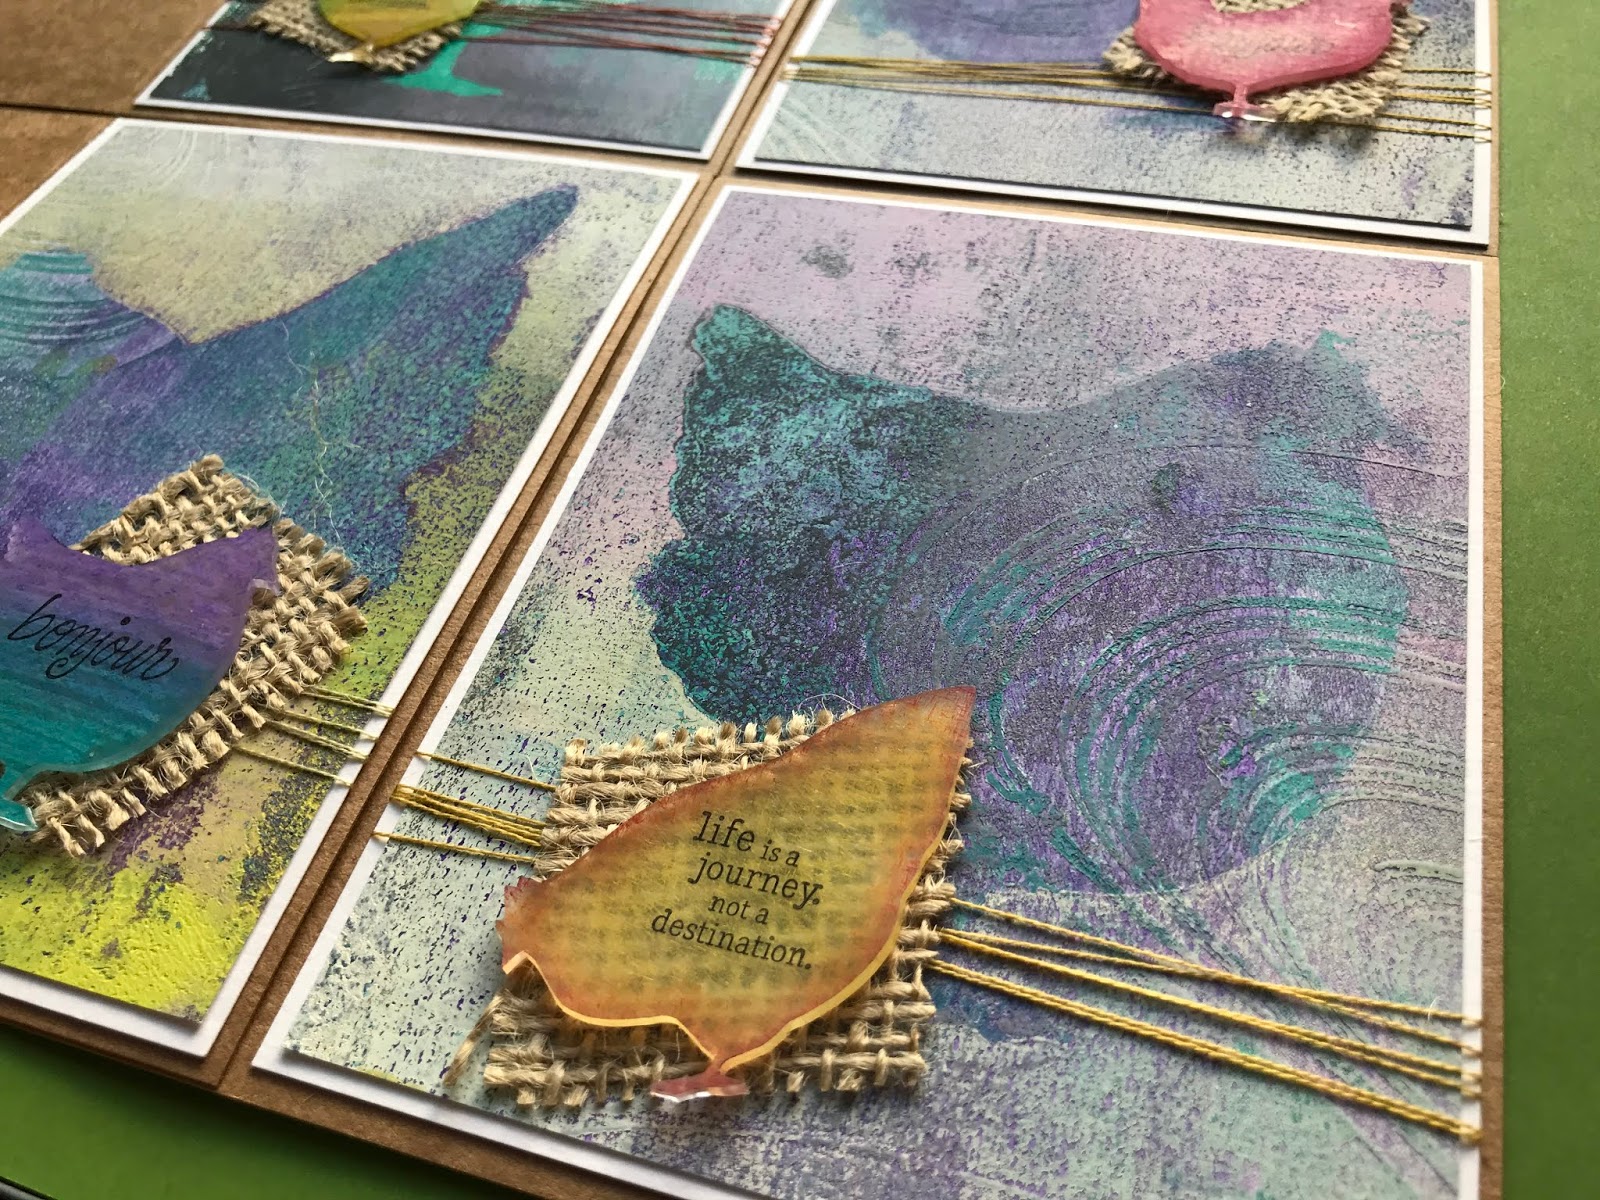
I started out by creating a few different background designs with a Gelli Arts Gel Printing Plate.  I used a brayer to blend colors onto the plate, then the Gelli Arts Printing Tools and handmade foam stamps to create textures onto the paint that was printed in layers onto Canson XL Mixed Media Paper.  Regular printer paper could have been used and that would actually be a great way to recycle the kids' schoolwork, but I liked the weight and texture of the Mixed Media paper and I had some on the shelf, so that's what I used for this project.
After I was happy with the few backgrounds I had created, and long after they had time to dry, I cut them up.  If you know me, you know I love to create one big panel and reduce it to create several cards from it.  I knew in the beginning I would be quartering the panels which is why my chickens were sized and placed where they were.
The panels were pretty just the way they were and they would have been fine on a card alone, but I thought they needed a little something extra.  An embellishment created from Grafix Super Sanded Shrink Film was just the thing!  I used the masks, this time as a stencil, to trace my chickens onto the film.  I used colored pencils to color them, then stamped sentiments onto them with StazOn ink.  I then used scissors to carefully cut inside of the lines of the chickens so that the lines wouldn't be seen on the finished pieces.  A dedicated toaster oven was used to shrink the film according to package directions.
A length of embroidery floss was cut and separated so that each panel had six strands of colored thread across it.  It was attached on the back of the panel with little pieces of Scor-Tape.  I then attached the panel to a piece of white card stock cut just smaller than my card base, which happened to be 4 1/4" by 5 1/2". 
The last thing I needed to add to my cards was the little scrap of burlap and the Shrink Film chickens.  I didn't want to mess with wet glue and decided on trying Grafix Artist-Tac, which happened to be the perfect adhesive for both items.
I now have some other card ideas I'd like to try, but only after our chores and homework are done!  I hope this has inspired you to try something new.

I encourage you to visit Grafix and Gelli Arts social media pages for even more inspiration, product information, and project ideas!

Gelli Arts
    Facebook: @GelliArts
    Instagram: @GelliArts
    YouTube: www.youtube.com/gelliarts
    Twitter: @GelliArts
    Pinterest: www.pinterest.com/gelliarts/

Grafix
    Facebook: @GrafixInc
    Instagram: @GrafixArtPlastics
    YouTube: www.youtube.com/grafixarts
    Twitter: @ArtsGrafix
    Pinterest: www.pinterest.com/grafixarts/

Thursday, June 1, 2017

Coloring Page - Thinking of You Note Card

EMBRACING CHANGE: Many of you have witnessed a shift in my creative interests lately.  I began my journey as a sock monkey maker, and while I still do love the sock monkeys and still enjoy making them (and I will if you ask me!), my rubber stamp adventure ultimately required more of my time than making sock monkeys.  BIG CHANGES ARE ON THE HORIZON.  I'll have more to tell you about that very soon.

About a year ago, a very dear friend sent me a set of watercolors to encourage me to give them a fair chance (thanks, Jenn!); I knew then that I really do love painting more than I had realized.  I'm not defined by just one type of art or craft.  Little moments in everyday life inspire new interests, crafts, and hobbies.  I love it all!  And with that, I'd like to share those pieces of myself with you whenever I can.  I'd love also to encourage YOU to draw, color, paint, sculpt, sew, crochet, knit...  anything.  Simply CREATE.  Every day.  If you have children, create with them.  If you don't have children, create with a friend.  I believe that art is a form of therapy.  Even writing a letter can be therapeutic.

NOW FOR THE FUN STUFF: Occasionally I'd like to create a coloring page to share with you.  It's not super fancy, it's just for fun.  Coloring pages are for personal use and are not to be used for reproduction or for sale.  Today's coloring page is actually a set of note cards.  After you download and print your page, cut the paper in half horizontally so that you get two pieces of paper that measure 8.5" x 5.5".  (The images should be on the right.)  You may then score and fold the pages in half, giving you two cards that measure (A2) 4.25" x 5.5".

Color your pictures, then send the cards to someone with a handwritten note inside letting them know that you're thinking of them.  Enjoy!

As always, thanks for following along on my handmade journey!

Tuesday, April 25, 2017

How To Tuesday - Geode Shrink Film Charms for Jewelry and Stitch Markers


For those of you that follow me on Facebook and Instagram: THANK YOU!  I try to share my project progress to show a little bit of what happens "behind the scenes" and where my inspiration comes from.  As promised, here is a step-by-step photo tutorial showing how I made shrink film geodes. 

To begin, first gather your supplies:

Colored Pencils
Scissors
Standard Hole Punch
Oven, Cookie Sheet, and Parchment Paper
Mod Podge Dimensional Magic or Comparable Dimensional Sealer
Glitter (optional, but recommended)
Small Paint Brush (optional, but recommended)
Jump Rings, Jewelry Hardware, and Pliers 
Step 1: Use StazOn ink on a Geode Rubber Stamp to stamp images onto the sanded surface of the shrink film.  Leave a little bit of room between images.
 Step 2: Using craft scissors, cut images apart.
 Step 3: Using a variety of colored pencils, color your geodes.  Search the internet for color inspiration and reference.  TIP: Use a white or lighter colored pencil to blend colors.
 Step 4: If a hole is desired, it is important to punch a hole BEFORE shrinking the film.  Punch a single hole on either side of the geode for making charms or stitch markers.  Don't punch a hole if you would prefer to keep a solid shape.
 Step 5: Bake your geodes according to package directions.  TIP: I use parchment paper on a cookie sheet with a second piece of parchment paper over the top to prevent curling.
 The geodes shrink to about HALF of their original size!
 Step 6: Put a drop of Dimensional Magic on your craft sheet (in my case, it is the parchment paper from the oven.)  Use a small paintbrush to brush the Dimensional Magic onto the center of your geodes.  Dust the geodes with glitter.  TIP: Using the parchment paper as a craft sheet will allow you to return the unused glitter to the original container.  Set aside to dry.

Step 7: Seal your geodes with a layer of Mod Podge Dimensional Magic for a thick gloss finish.  TIP: Keep a pin on the table to pop any bubbles that may appear.  Set aside to dry according to package directions.  I usually leave mine for about 24 hours before attaching any hardware.
Now you have a collection of unique charms to use to create a variety of projects.  Some suggestions are: stitch markers, earrings, necklace charms, lapel pins, rings, decorative accent buttons, wine glass charms, card embellishments... and I'm sure you can think of lots of other ideas, too!
I hope you have found this tutorial to be helpful.  If you like the geode rubber stamp and want to see more original hand carved rubber stamps, I invite you to visit my Etsy shop.  If you've found this tutorial to be informative and know someone who may benefit from it, please share it with your friends.  Happy crafting!